Okay, so I’ve been wanting a new entertainment center for, like, forever. My old one was just… sad. Too small, not enough storage, and honestly, kinda ugly. I finally decided to just build my own, specifically one with a back panel to hide all those messy wires. Here’s how it went down:
Planning & Gathering Stuff
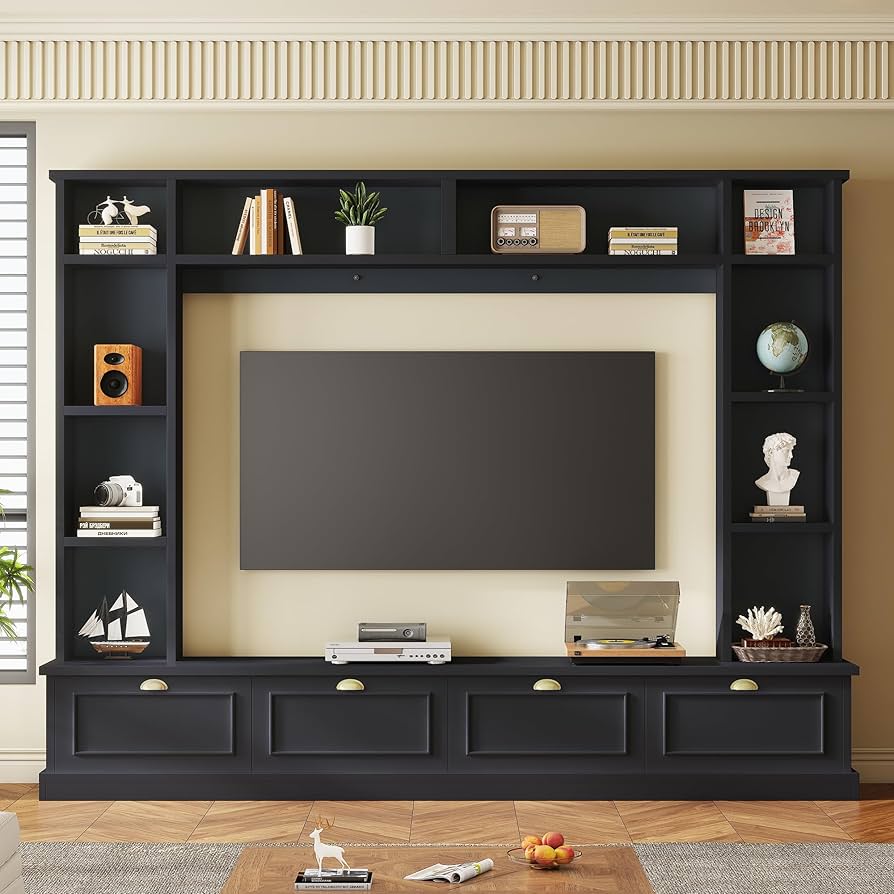
First, I spent a good chunk of time just staring at my living room and sketching out ideas. I knew I wanted something wide enough for my TV, with shelves for my game consoles and some drawers for controllers and other junk. I also decided on a floating design, because it looks cool and makes cleaning easier. Then, I had to plan the back panel, with the size of the entertainment center body.
After I had a rough plan, I hit up the hardware store. I grabbed:
- Some nice, thick plywood for the main structure.
- Thinner plywood for the back panel.
- Wood screws, wood glue, and some heavy-duty wall anchors (gotta make sure this thing doesn’t fall!).
- Sandpaper (lots of it!).
- Primer and paint (I went with a classic white).
- Drawer slides and some cool-looking drawer pulls.
Building the Main Frame
I started by cutting the plywood for the main box of the entertainment center. I made sure to double-check all my measurements before cutting – messing up here would be a disaster! I used a circular saw for the straight cuts and a jigsaw for any tricky corners.
Once everything was cut, I glued and screwed the pieces together to form the basic box shape. I used a ton of clamps to hold everything tight while the glue dried. This part was pretty straightforward, just like building a big wooden box.
Adding the Shelves and Drawers
Next, I cut and installed the shelves. I used some scrap wood as supports to make sure the shelves were evenly spaced. For the drawers, I built simple boxes and attached the drawer slides. This was a bit fiddly, getting the slides aligned just right, but I took my time and it worked out.
The Back Panel Magic
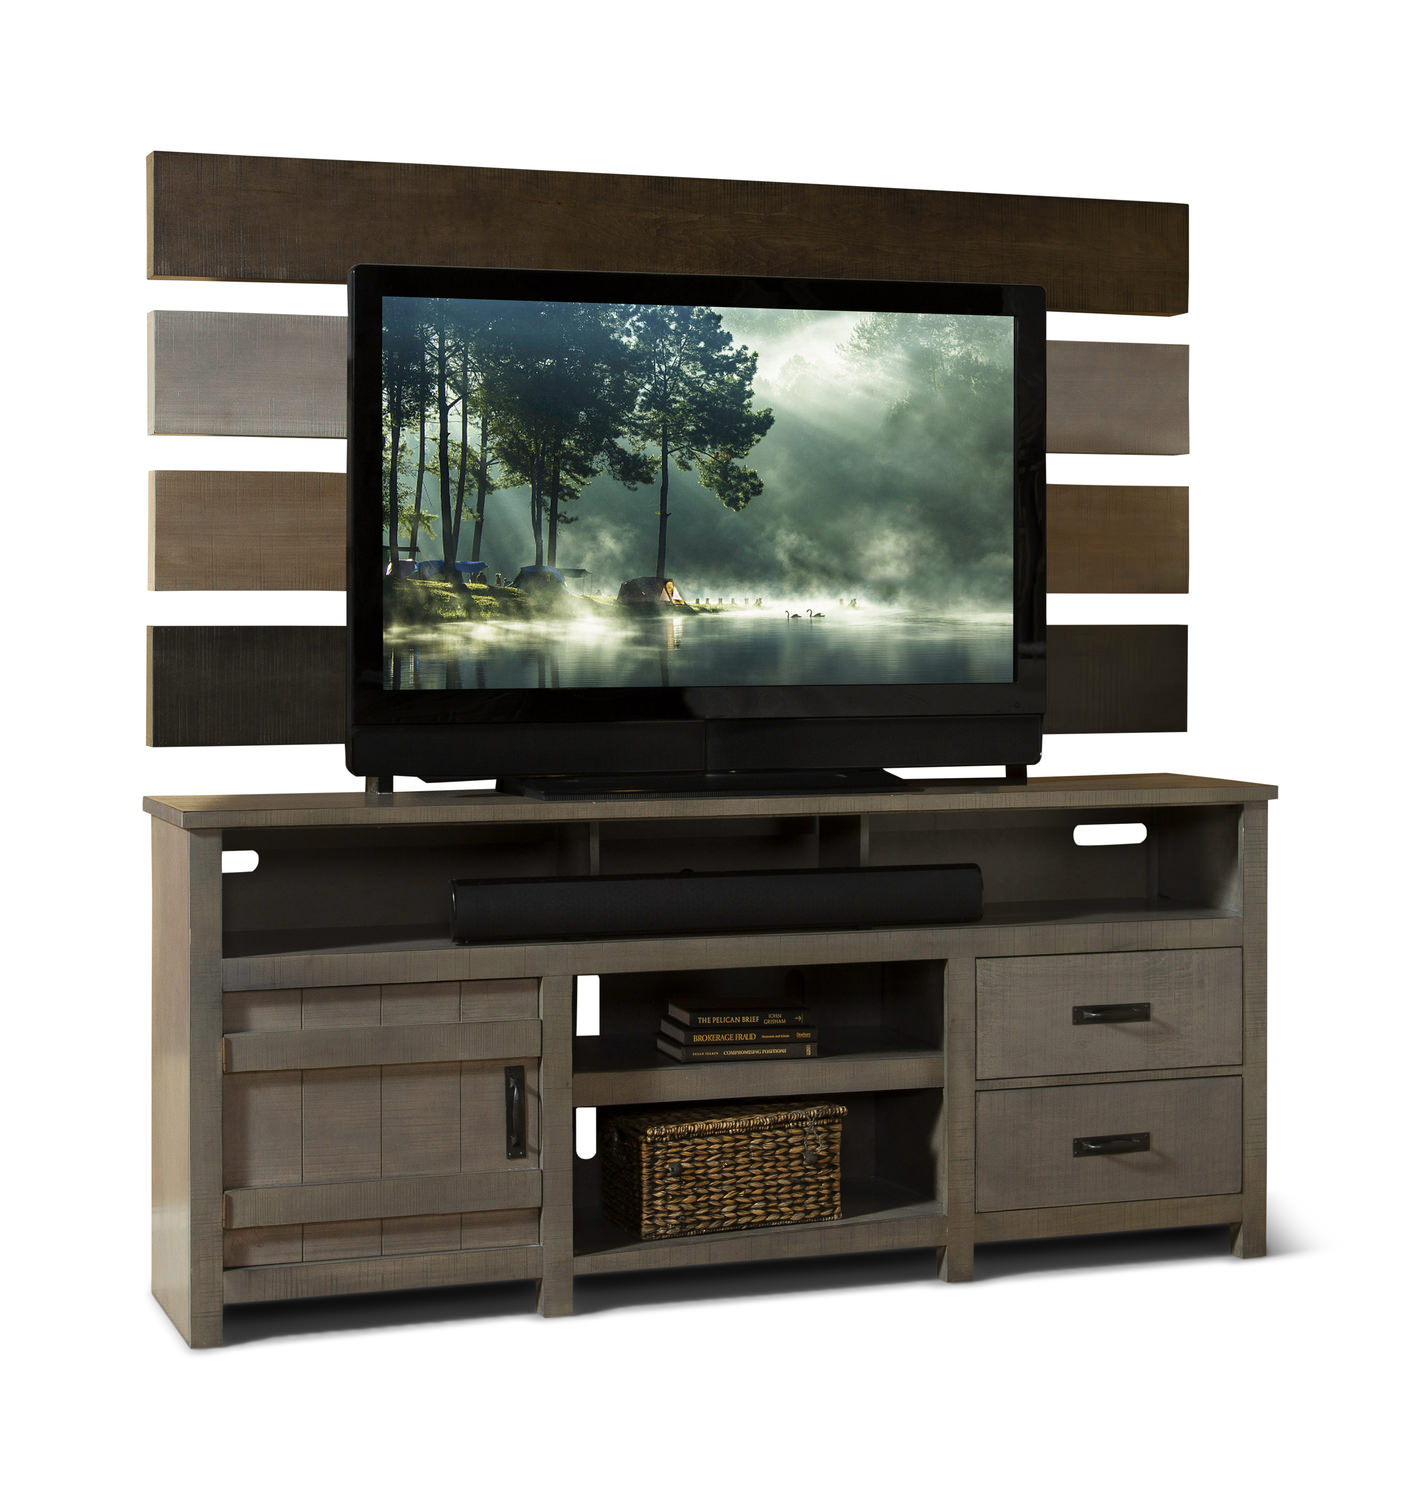
This is where things got interesting. I cut the thinner plywood to the size of the back of the entertainment center. Then, I marked out where I wanted the holes for the wires to go. I used a hole saw attachment on my drill to make nice, clean holes. I wanted my TV and the other stuff in the entertainment center to have the wires coming out of panel, so I can hide all of them behind it.
Before attaching the back panel, I painted it. Way easier to do it now than when it’s attached! Once the paint was dry, I glued and screwed the back panel onto the main frame. All the wires for the tv and other stuff were able to coming out through the panel.
Sanding, Priming, and Painting
Now for the tedious part: sanding. I sanded the entire thing, starting with coarse sandpaper and working my way down to fine grit. This took a while, but it’s super important for a smooth finish.
After sanding, I wiped everything down with a tack cloth to remove dust, then applied a coat of primer. Once the primer was dry, I gave it two coats of white paint, sanding lightly between coats.
Mounting It to the Wall
This was the most nerve-wracking part! I used a stud finder to locate the studs in my wall and marked where I wanted to mount the entertainment center. I drilled pilot holes and then used those heavy-duty wall anchors to secure it to the wall. I made sure to use a level to make sure it was perfectly straight.
The Final Result!
After all that work, I finally had my new entertainment center! It looks amazing, and all the wires are neatly hidden behind the back panel. It’s so much better than my old one, and I’m super proud that I built it myself. I put the tv, game consoles and other stuff in the entertainment center. It’s a big improvement!


