Okay, so I’ve been wanting to upgrade my living room setup for a while now. My old TV stand was, well, old. And kinda falling apart. I saw this “Bellaby 4-piece entertainment center” thing and thought, “Hey, that looks pretty good!” So, I decided to go for it. Here’s how the whole thing went down.
The Hunt and the Purchase
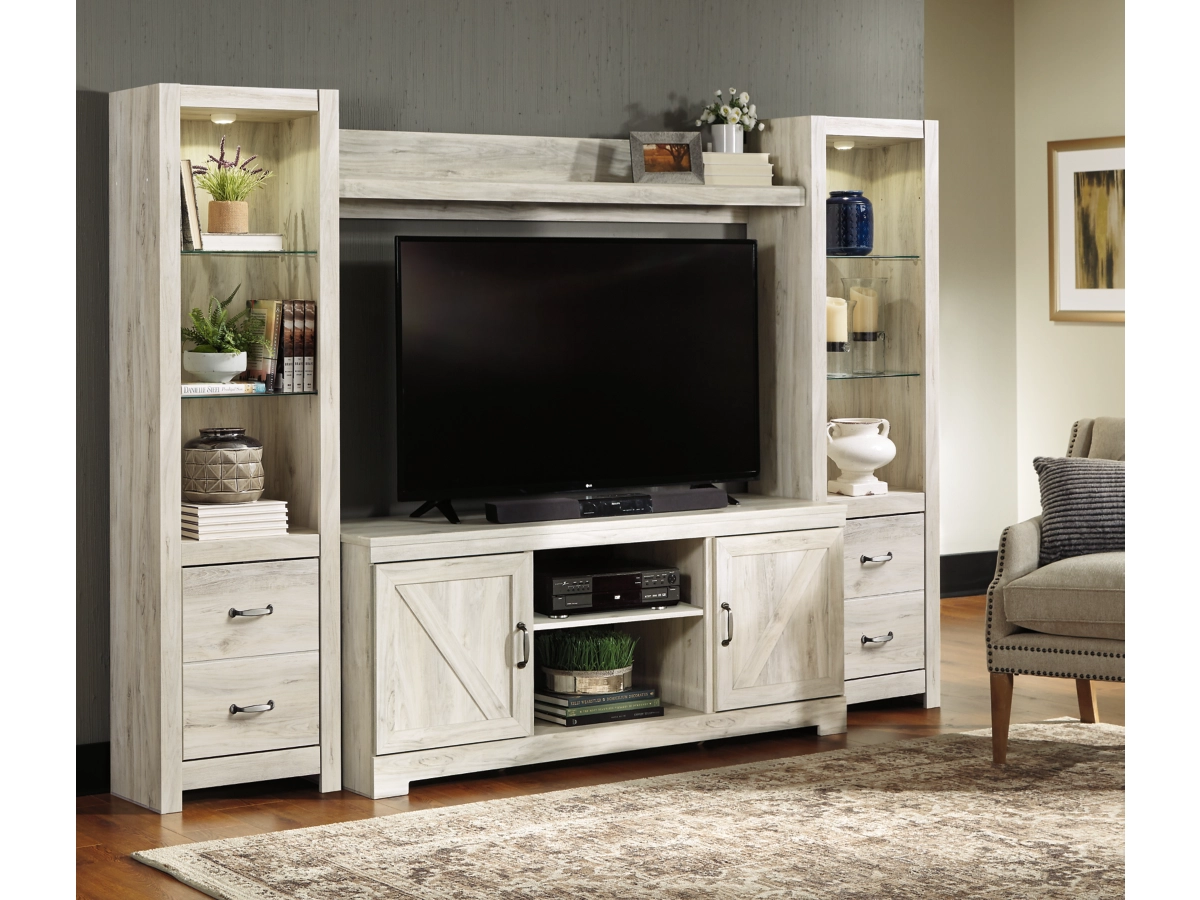
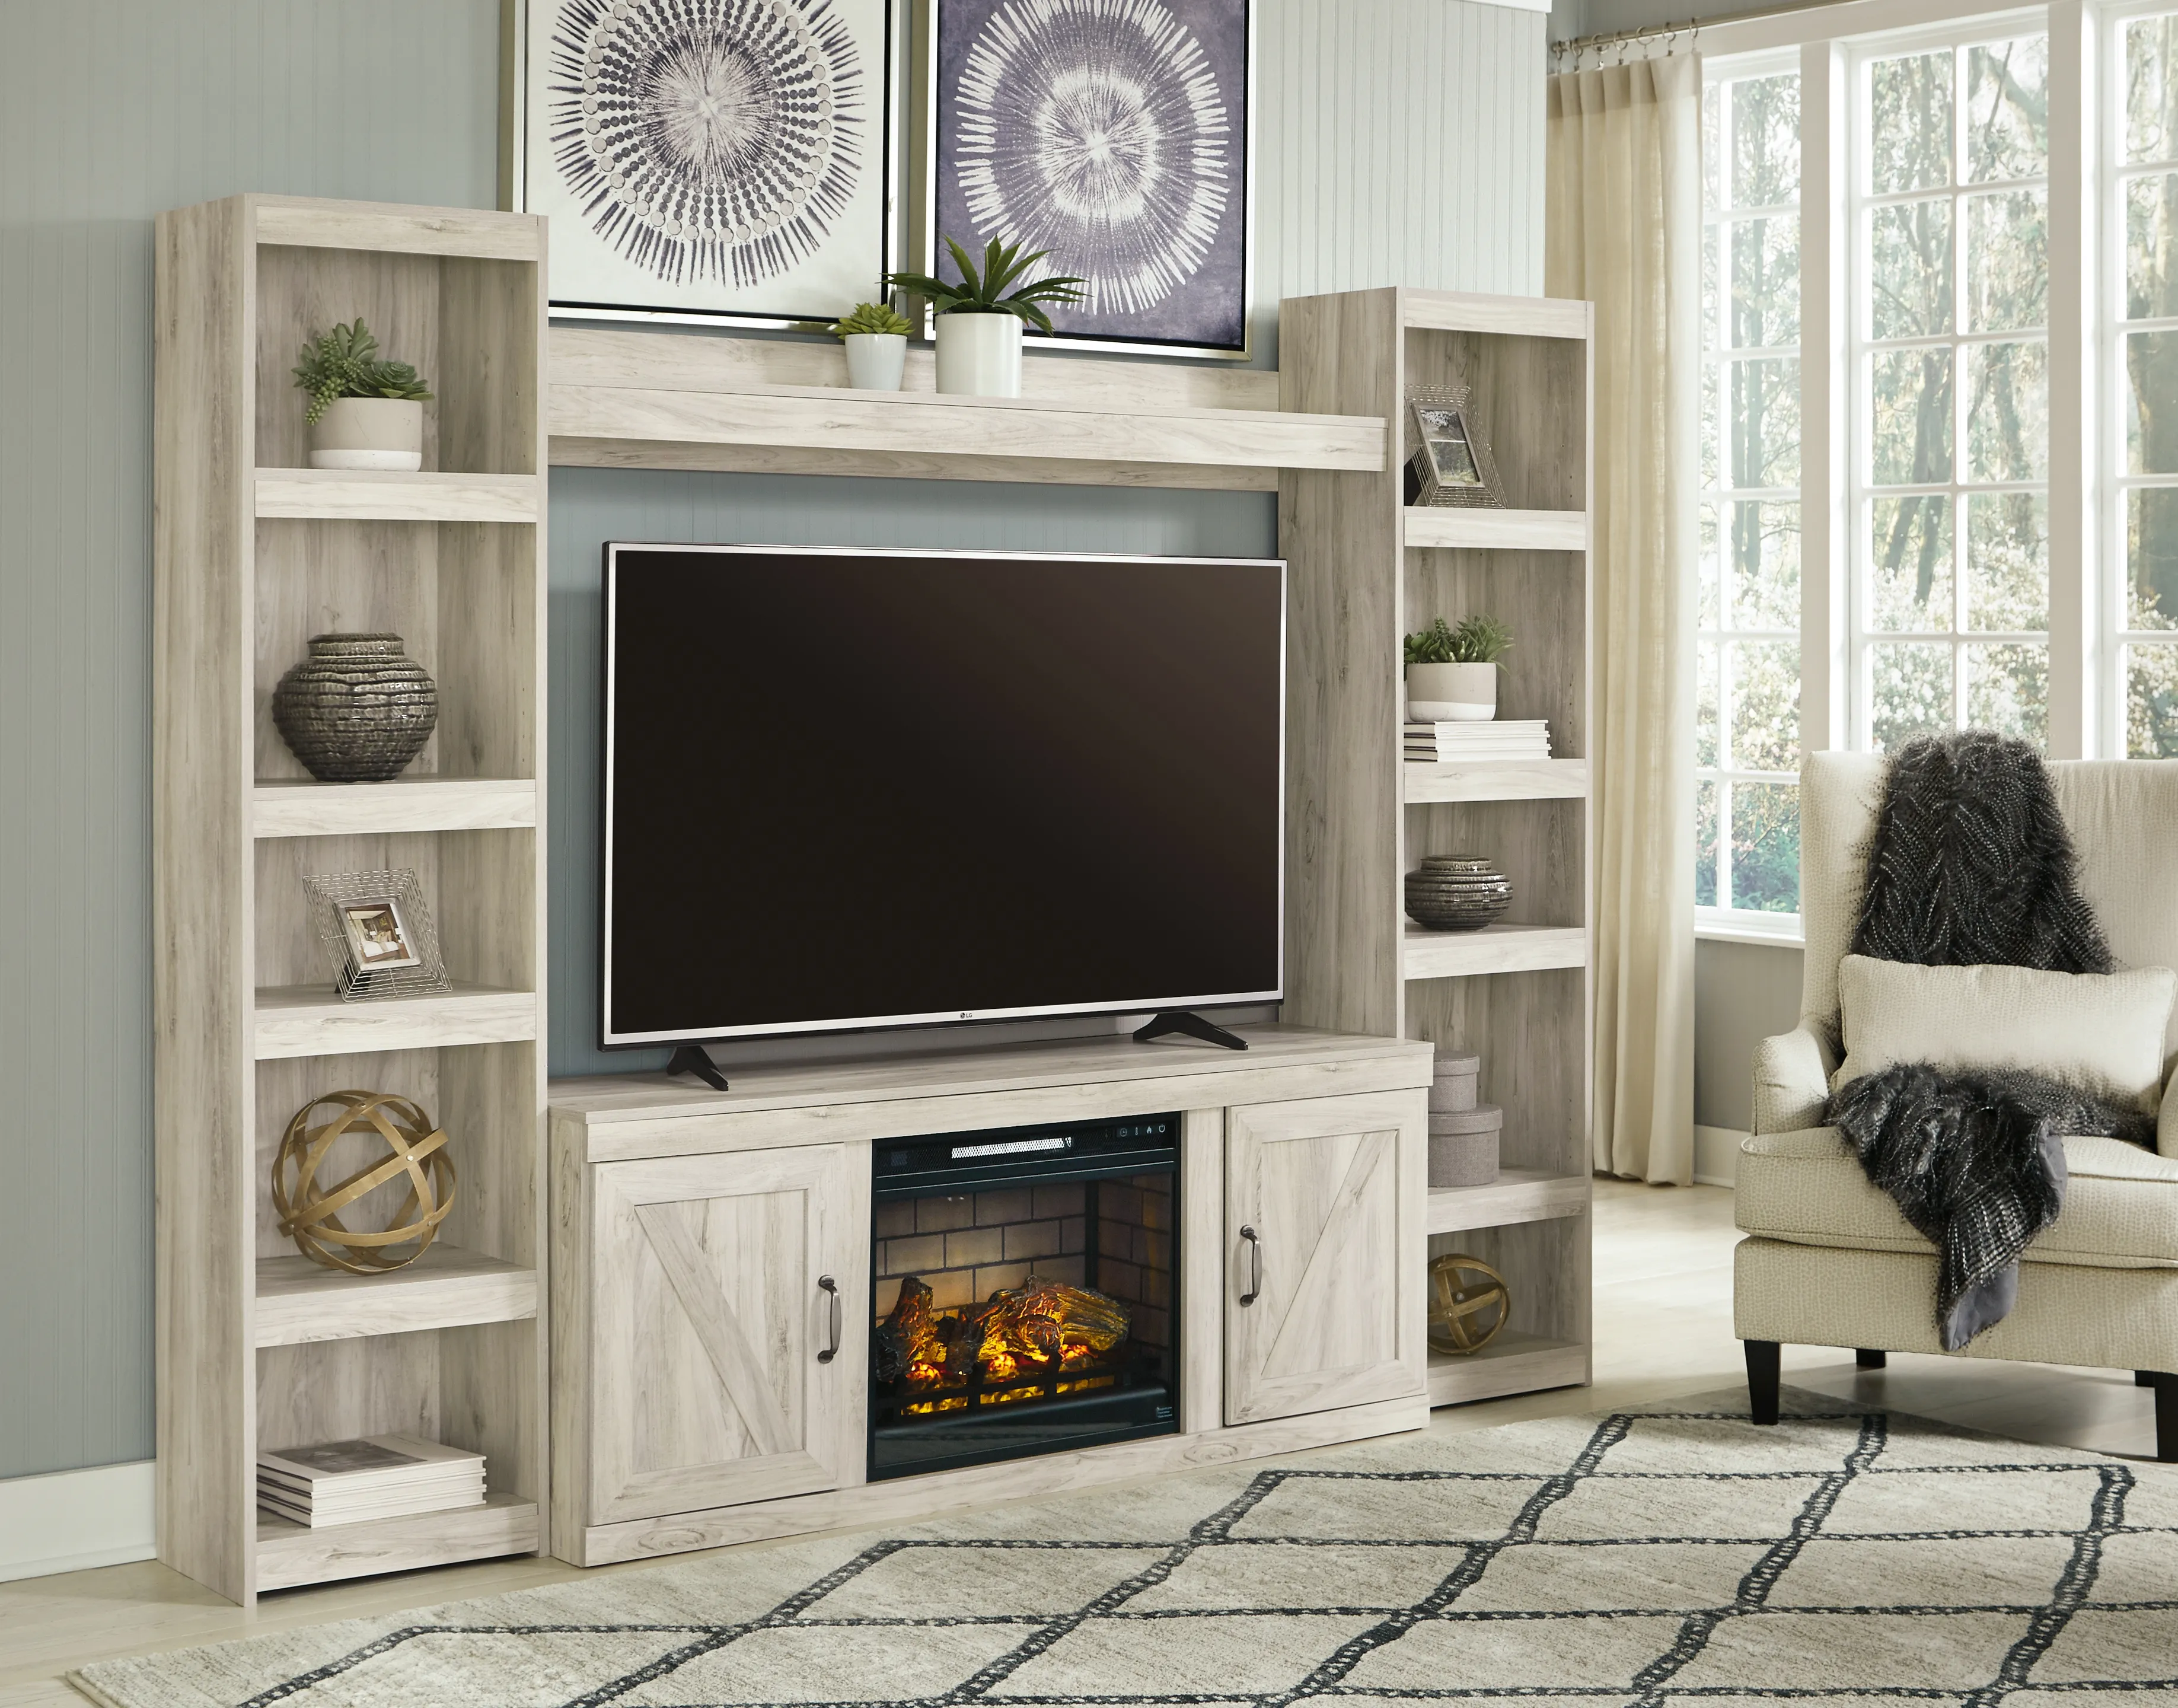
First, I spent some time looking at different options. I checked out a bunch of websites, and to be honest, I was getting pretty overwhelmed. There are so many choices! But this Bellaby one kept popping up, and I liked the look of it, modern farmhouse, reclaimed look. I’m a sucker for that rustic, kinda cozy feel. I finally found one I liked. It had the TV stand, two side piers, and a bridge to connect them. Perfect!
The Waiting Game…and Delivery!
After I ordered it, the waiting began. You know how it is, you’re all excited, constantly checking the tracking information. Finally, the delivery day arrived! The delivery guys brought in these HUGE boxes. Seriously, I was a little intimidated. I signed for everything, and they were off.
The Unboxing and the “Oh Boy” Moment
This is where the real fun began. I grabbed a box cutter and started ripping into those boxes. Cardboard everywhere! It was like Christmas, except instead of presents, it was a whole lot of flat-packed furniture. I laid everything out on the floor, and that’s when I realized…this was going to be a project. Instructions, screws, dowels, the whole nine yards. I’m not exactly the handiest person, so I definitely had a brief “oh boy” moment.
The Assembly Adventure
I started with the TV stand, figuring that was the main piece. The instructions were…okay. Some parts were clear, some were a little confusing. I definitely had to re-read a few steps a couple of times. Thank goodness for those little diagrams! I slowly but surely started putting it together. Screwing in this, hammering in that. There were a few moments where I thought I’d messed up, but I managed to figure it out.
- Tip 1: Lay out all the pieces first! It helps to see everything and make sure you have it all.
- Tip 2: Don’t tighten everything all the way until the end. Leave a little wiggle room in case you need to adjust things.
- Tip 3: An extra pair of hands really helps!
The side piers were next. These were a little easier, since they were basically just tall shelves. The bridge was the trickiest part, getting it lined up and attached to the piers. But with some patience (and a little bit of sweat), I got it all connected. I was using that little Allen wrench so much, hand was start get a little sore!
The Finished Product (and the Relief!)
After a few hours, it was finally done! I stood back and admired my handiwork. Honestly, it looked pretty darn good! It completely transformed the living room. The TV fit perfectly, and there was plenty of space for my game consoles, movies, and other stuff. I even added some decorative baskets to the shelves to hide some of the clutter. Success!
It was definitely a bit of work, but totally worth it. My living room feels so much more put-together now. And hey, I built something! That’s gotta count for something, right? If you’re thinking about getting this entertainment center, just be prepared for some assembly time. But if I can do it, you probably can too!


