Okay, so I saw this “aunt life” shirt design floating around online and thought, “Hey, I could probably make that myself!” I’m not the most crafty person, but I like a good DIY project, and this seemed pretty straightforward. Plus, who doesn’t love a comfy, personalized shirt?
Getting Started
First, I needed a plain shirt. I went with a basic, solid-color cotton tee I found. Nothing fancy, just something soft and the right size. I made sure to pre-wash it to prevent any weird shrinking later on.
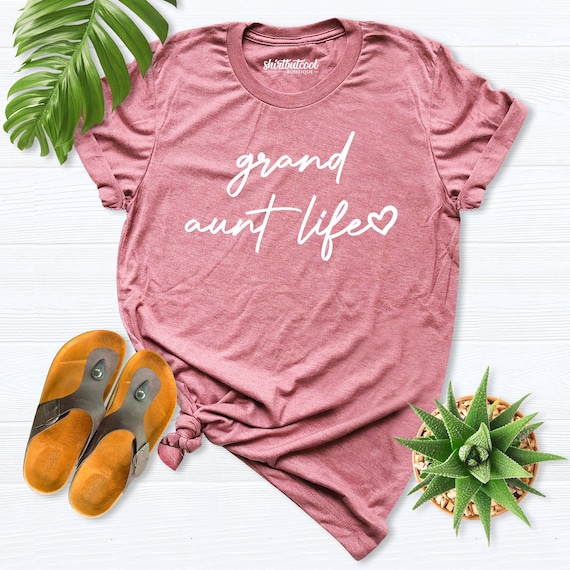
Next, I needed to figure out the design. The ones I’d seen online were pretty simple, mostly just text, maybe with a little heart or something. I just wanted to do “Aunt Life” in a cute, slightly messy font. I hopped online and started looking at some free font websites, you know the free staffs.
The Design Process
After browsing for what felt like forever, I found a font I liked. It was kind of handwritten-looking, but still readable. I typed out “Aunt Life”, played around with the size until it looked right, and then printed it out. This was going to be my template.
Then came the slightly tricky part – transferring the design to the shirt. I’ve messed this up before, so I was extra careful. I used some transfer paper, printed the design in reverse, and used an Iron to transfer the print out on to the shirt.
Finishing Touches
I let the fabric paint dry completely. Took a few hours, I just left it overnight to be safe. Then, I peeled the iron paper, And, boom! “Aunt Life” shirt, done! It’s not perfect, the lines aren’t perfectly crisp, but I like the slightly homemade look. It gives it character, right?
I’m pretty happy with how it turned out! It was a fun, easy project, and now I have a custom shirt that I can proudly wear. And, honestly, it was way cheaper than buying one online. If you’re looking for a simple, personalized gift idea (or just something for yourself), I’d definitely recommend trying this out. Just be patient, don’t rush it, and have fun!


